Back in September I took a workshop with Marie Segal. It’s amazing how time flys, isn’t it?
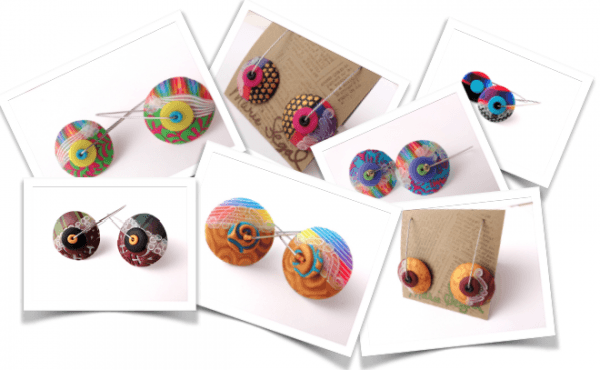
The first day was on translucent caning techniques and the second day was on making her gorgeous signature disk earrings with handmade integrated earwires.
One of the things I love about taking workshops is that I often learn something that wasn’t even part of the main technique, or I get inspired by a new idea and take my own work in a new direction.
The most valuable thing I learned this time was on clay handling in general and the changes that have happened in recent years with the formulas after they removed the pthalates.
Marie mentioned that the current plasticizers are safer, but more prone to evaporating. Something I’ve noticed for myself without really understanding why.
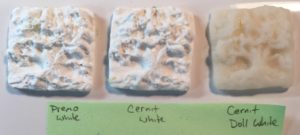
I’ve used Premo as my clay of choice for years, and it used to be that I could leave a sculpture for months and come back to it and the clay would be still be pliable and workable. I’m not finding that anymore.
You may have heard the clay has a “shelf life” now. If I leave a relief sculpture for a week, I’ll come back, try to adjust a section and the clay will just break off instead of moving where I want it. Really not good when you have tiny sculptural details.
Marie only takes out the clay she’s going to use, and tightly wraps up the remaining block. I’ve been doing that with my reliefs as well if I leave them for a few days, and it seems to be helping.
She also mentioned that there can be seasonal changes between batches – the different companies tend to make the clay softer in the winter and firmer in the summer – and says to adjust what you get to suit your own preferences.
Leach the clay if it’s too soft or add softener (Cernit Soft Mix, Diluent) or a different softer batch of clay if it’s too firm. Make that clay work for YOU 🙂
 The other thing that was new to me was working with Cernit. I’d heard of it before – the doll makers love it – but had never used it myself.
Marie supplied the clay for the class and we got a chance to try it out. It’s much more translucent than the other brands – even their opaque colors have a touch of translucency to them. It was great for the translucent canes we were making.
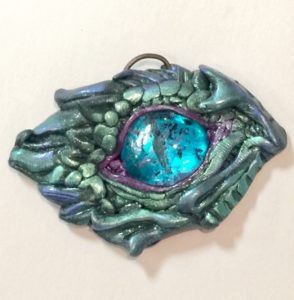
Since caning isn’t really my thing, the first thing I tried on break was a sculpted dragon’s eye. This was in Cernit Shiny Duck Green (gorgeous subtle mica shift color) with just a little pearlex on top. (Already sold during the class.)
The clay conditioned well, sticks to itself and blends well. I was really happy with it actually.
So more Cernit experiments coming soon!
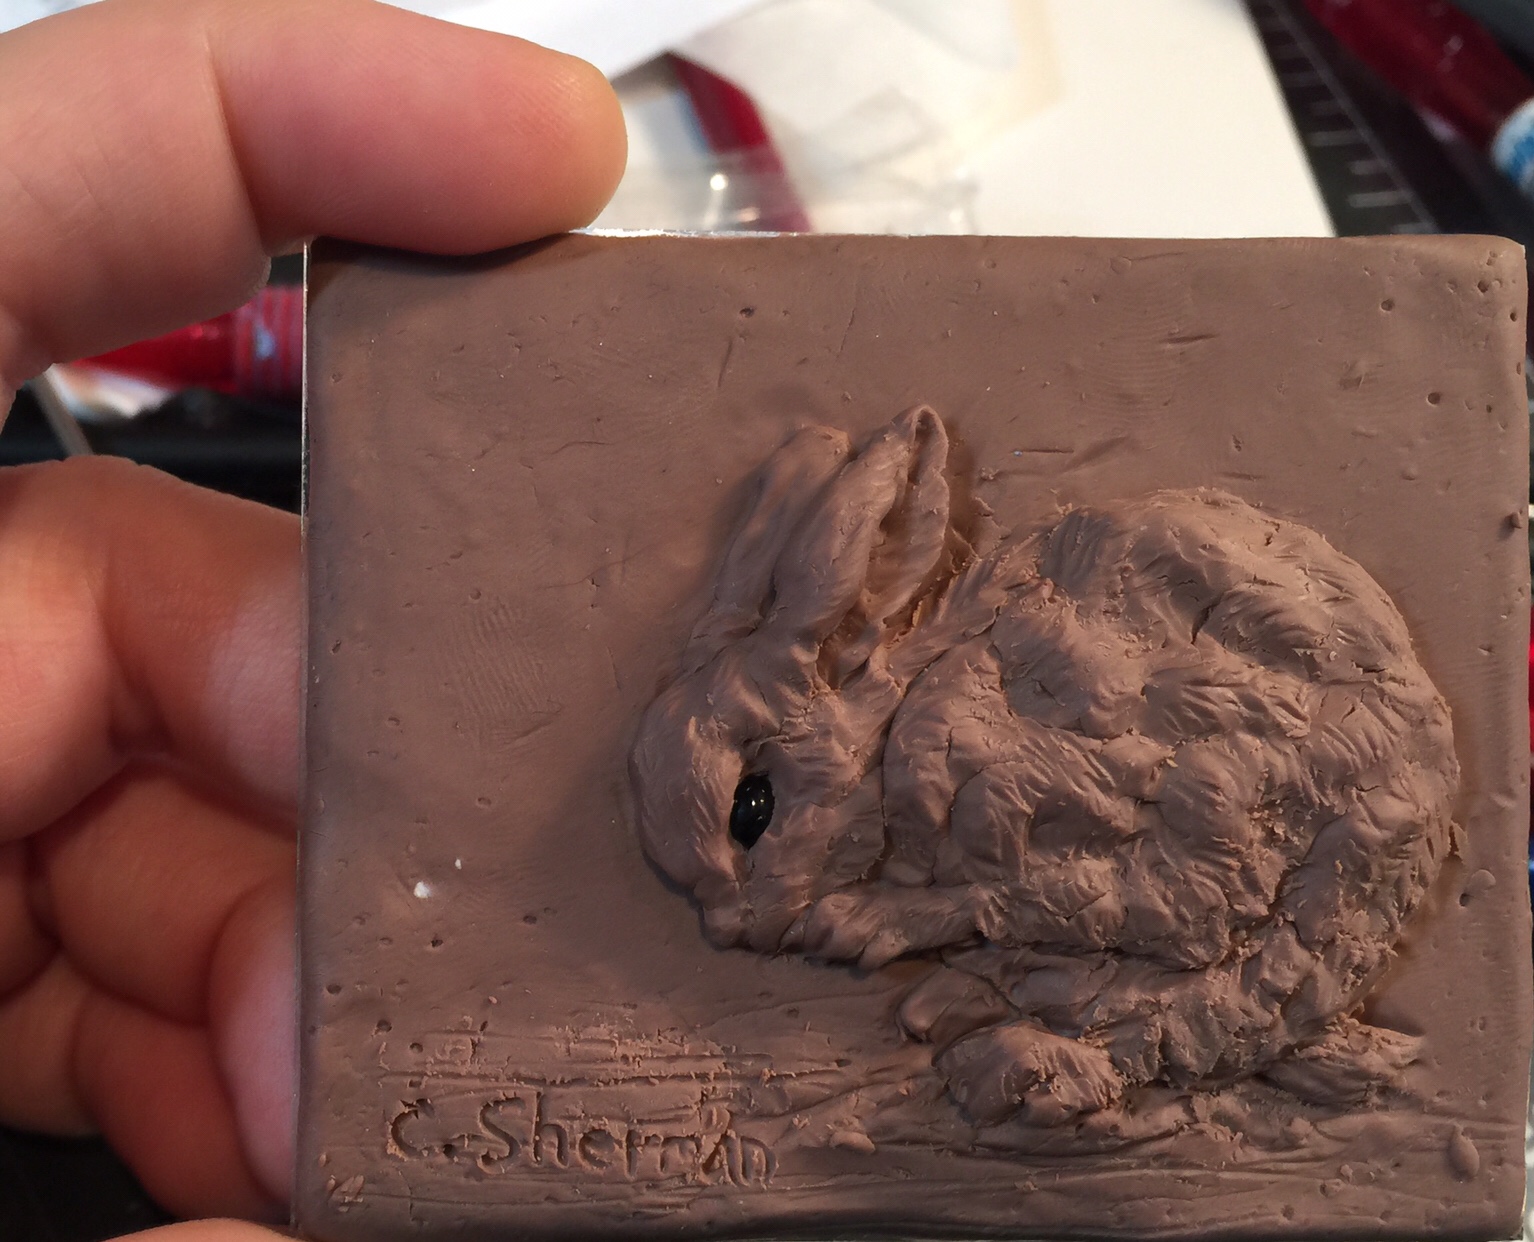 Here’s the finished rabbit miniature (approximately 2.5×3″) and how I painted it.
 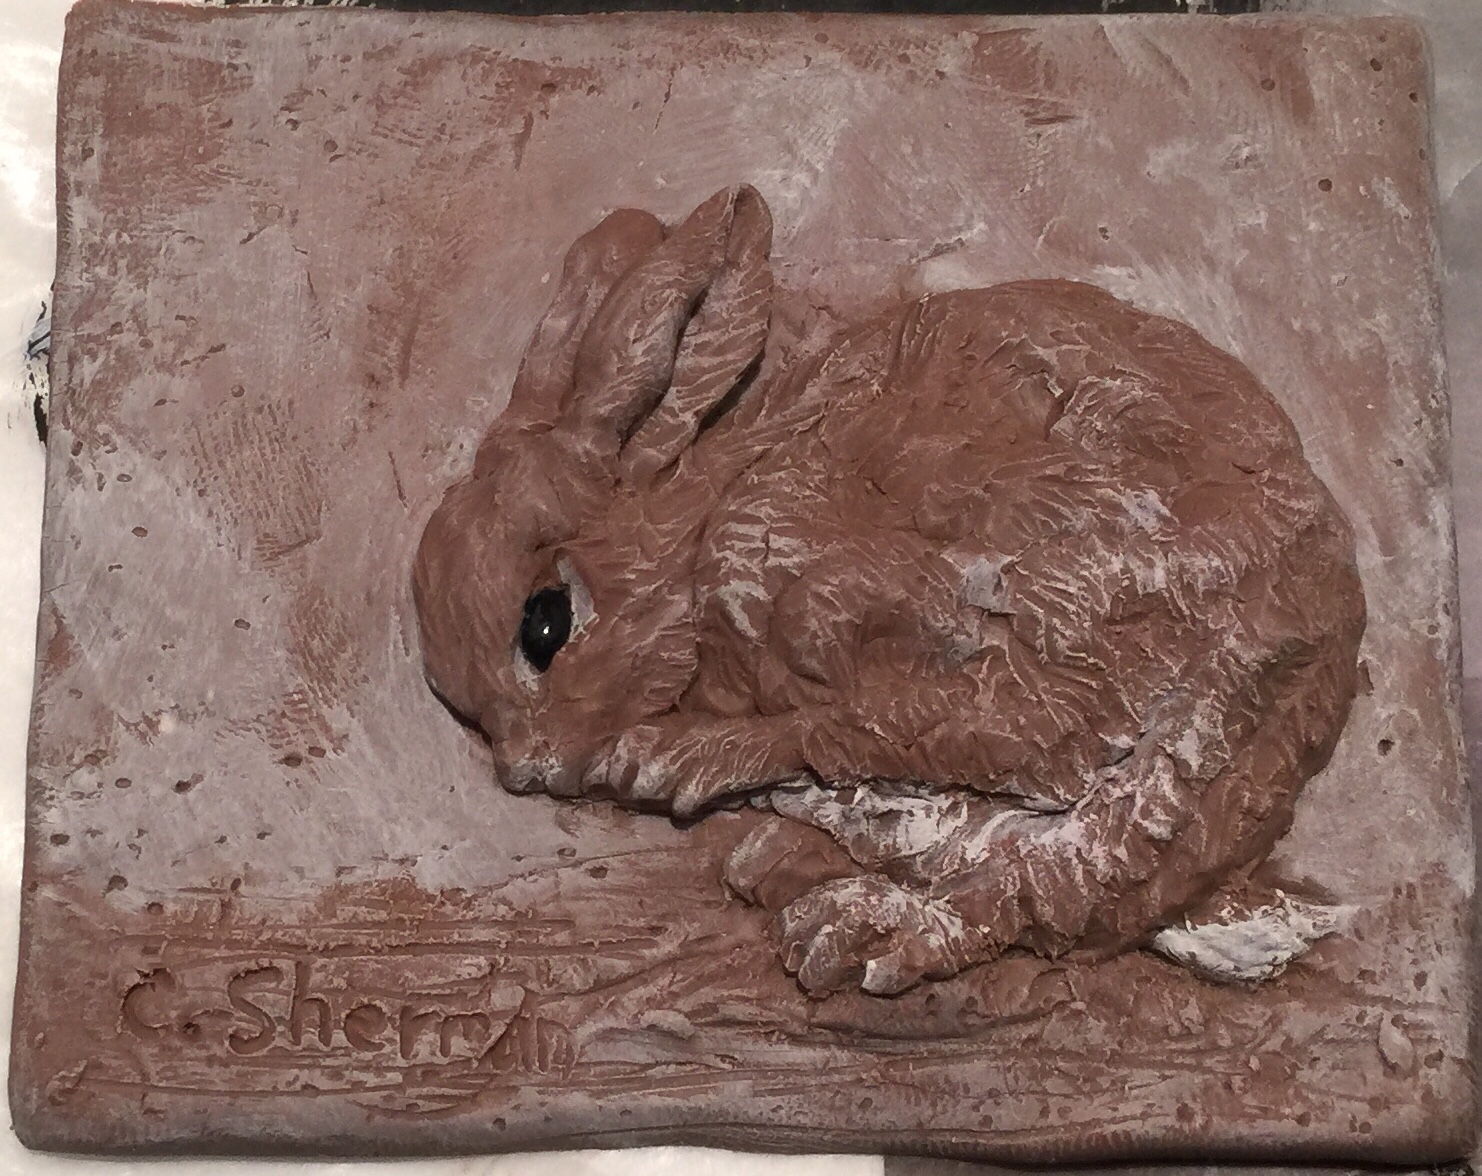 First I came in with a fairly dry brush and lightened up the background so the rabbit would stand out more.
 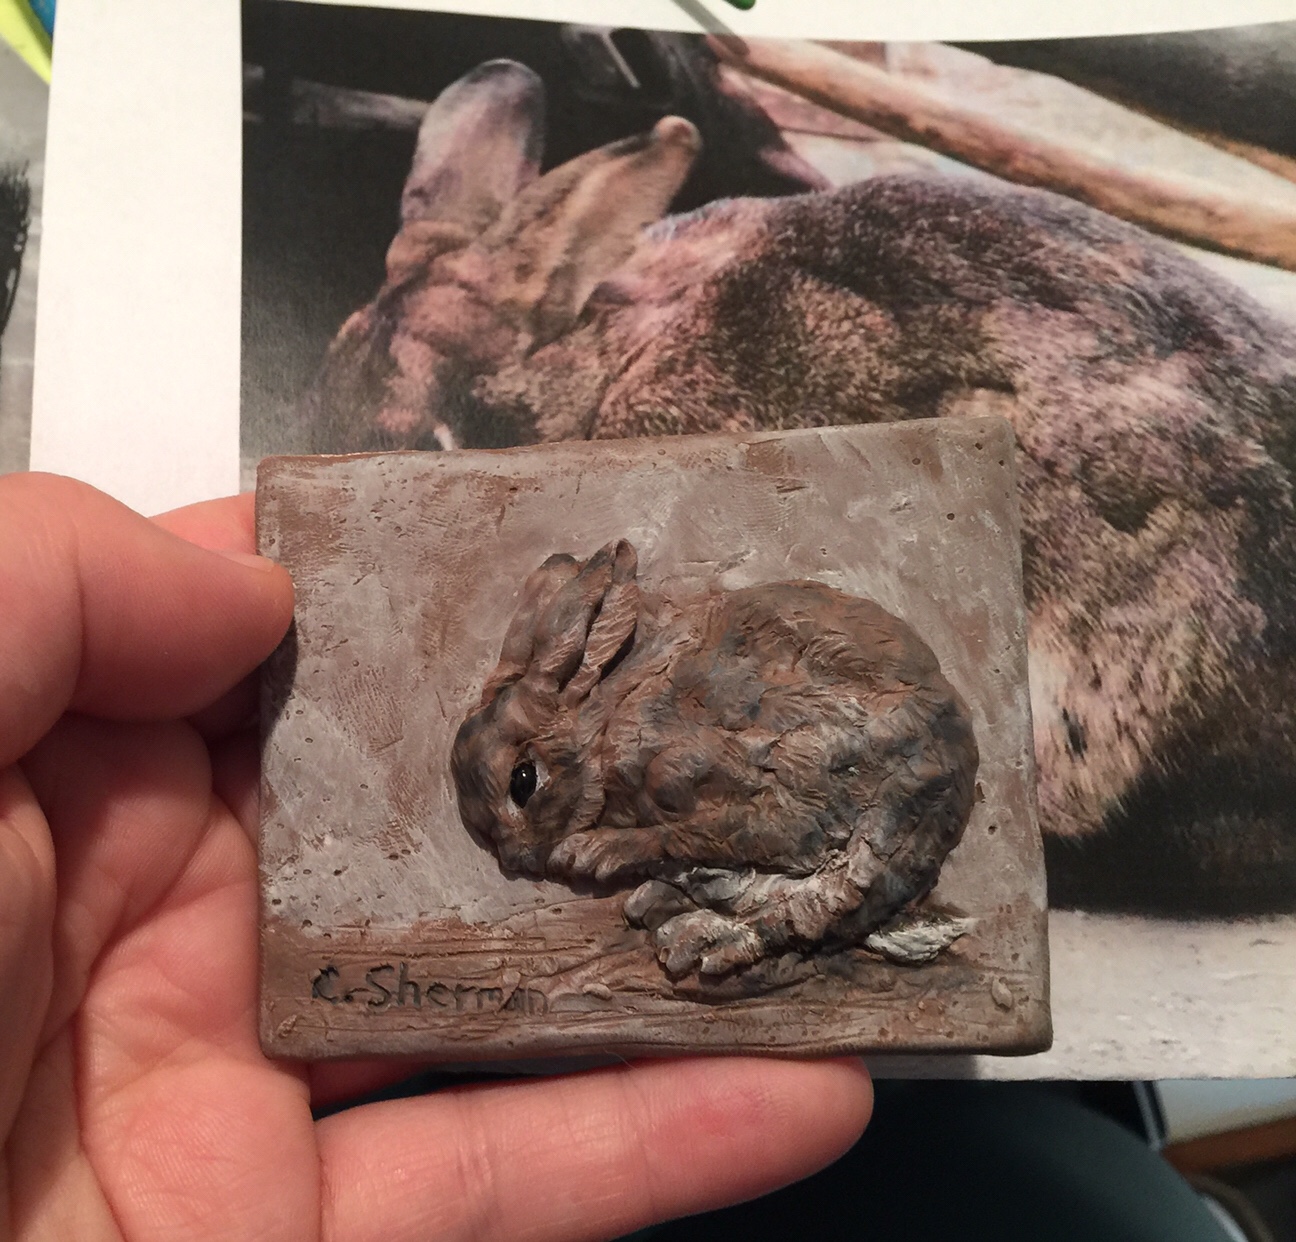 I used a slightly lightened wash of black (but not too much on the brush at one time) to darken areas of the fur and shadows.